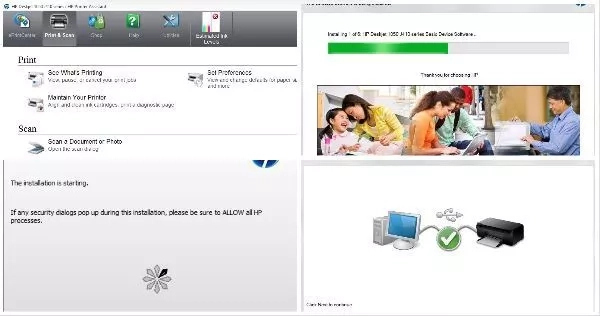
I am going to walk you through a step-by-step hp Deskjet 1050 installation guide.
No step will be skipped, so even if you’ve never used a computer before, you will be able to execute a successful installation without the help of any computer expert.
- Step 1
You need to get the printer itself (HP Deskjet 1050).
If you don’t have the Deskjet 1050 printer, walk to a stationary shop in your locality and buy it.
You may buy a fairly used one from a friend as this product is being phased out.
- Step 2
You need a computer, to install the printer driver on.
It may be a desktop computer or a laptop computer if you don’t have one; you can get a quality laptop and desktop computer now.
- Step 3
Install hp Deskjet 1050 driver softer in your computer – The driver software comes with the printer packaged together when the computer is received from the manufacturer (HP) or a retail shop in a CD.
Should in case you lost the CD that came with the printer or you bought it fairly used, I shared the printer driver download link where you can download it in case you lost your CD copy.
- Step 4
Install the driver software on your computer system.
If you are using the CD copy, go to the DVD drive of your computer to complete the installation; though when the CD is inserted, it may prompt you to complete the installation.
Depending on your settings how your computer should treat autoplay devices, the inserted CD may not pop prompting you to complete the installation, then you need to visit your CD drive and complete the installation manually as stated above.
- Step 5
Now click on the installation file on either the CD or the driver file you downloaded online.
The installation will start with some prompts asking for the directory where you want the printer installation file to be saved.
HP Deskjet 1050 installation step-by-step how-to guide
- Locate the driver software and double click on it
- Wait for it to extract

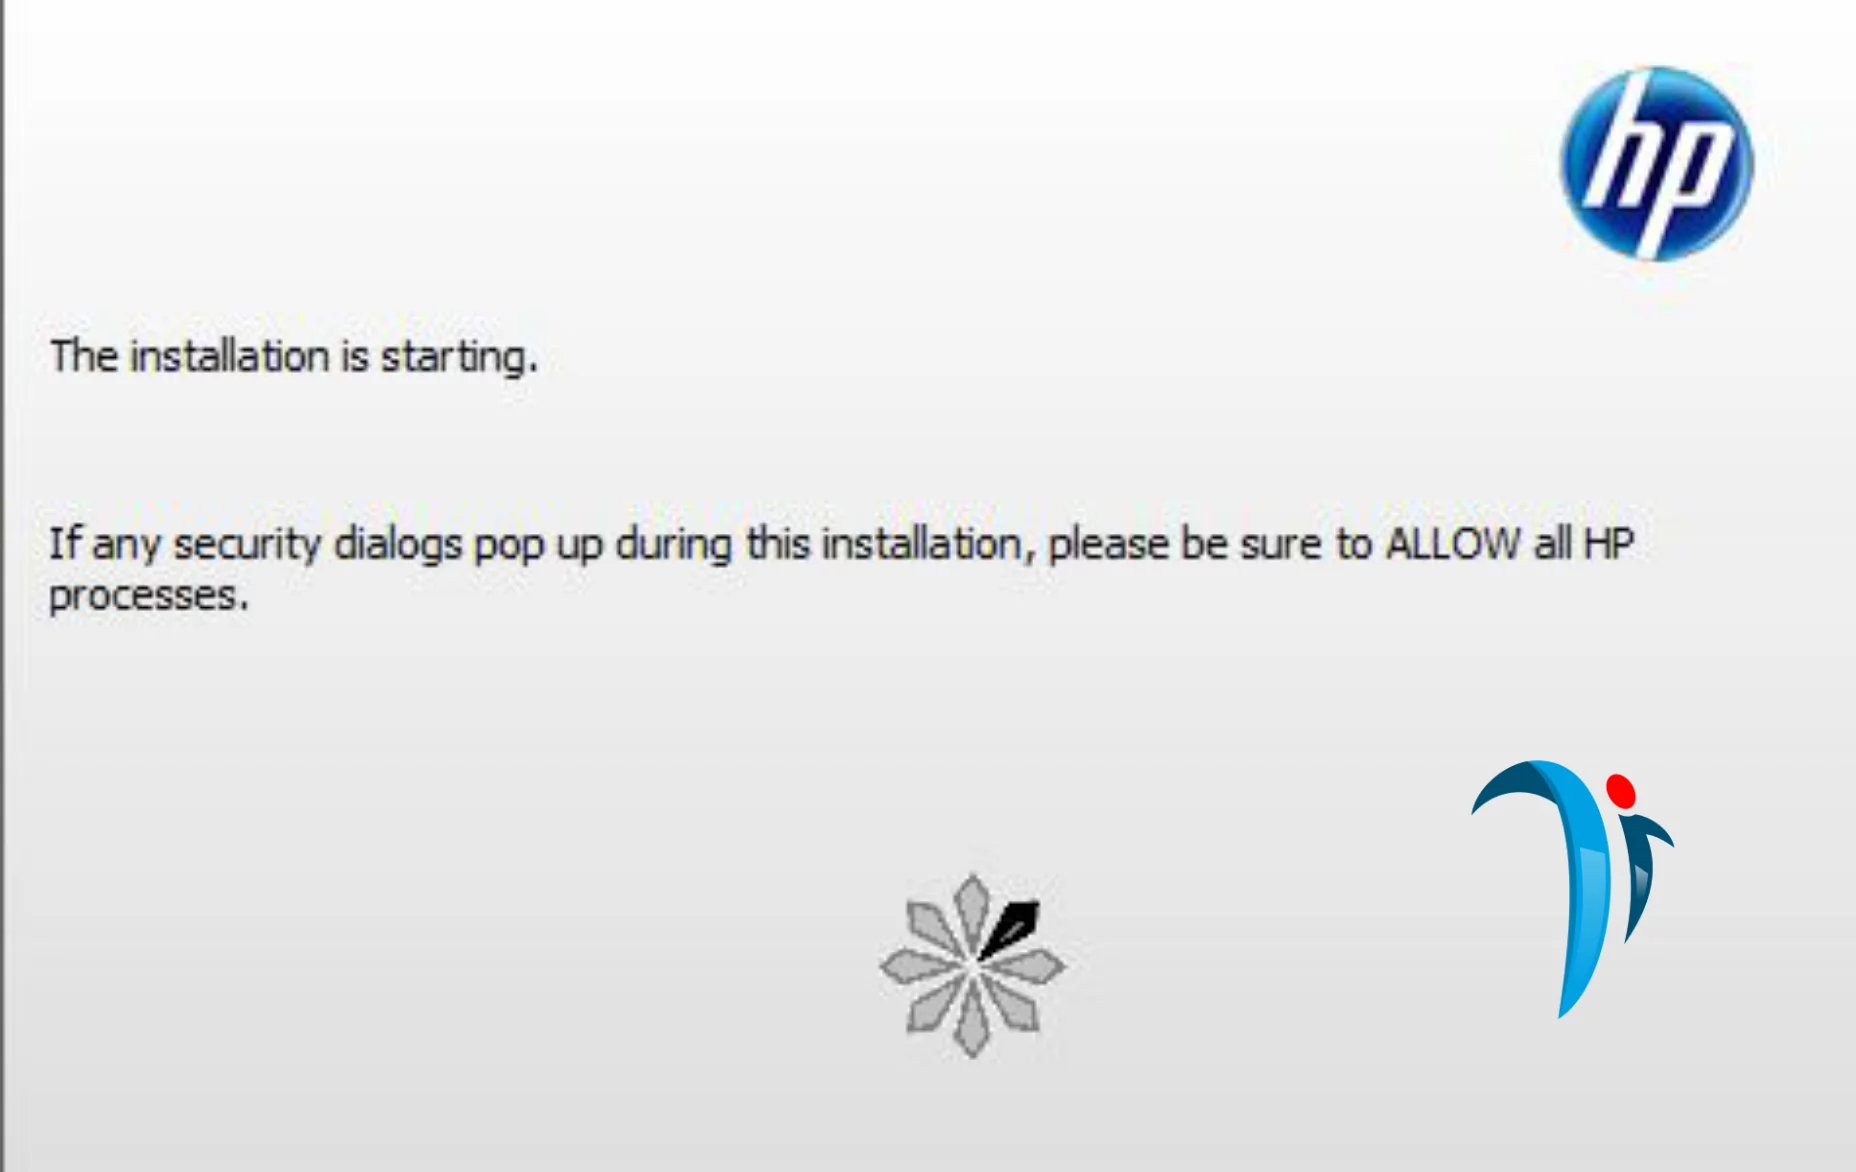
- You should now have a pop-up, prompting you to leave a command with a “Yes” or “No” to continue or abort the installation process
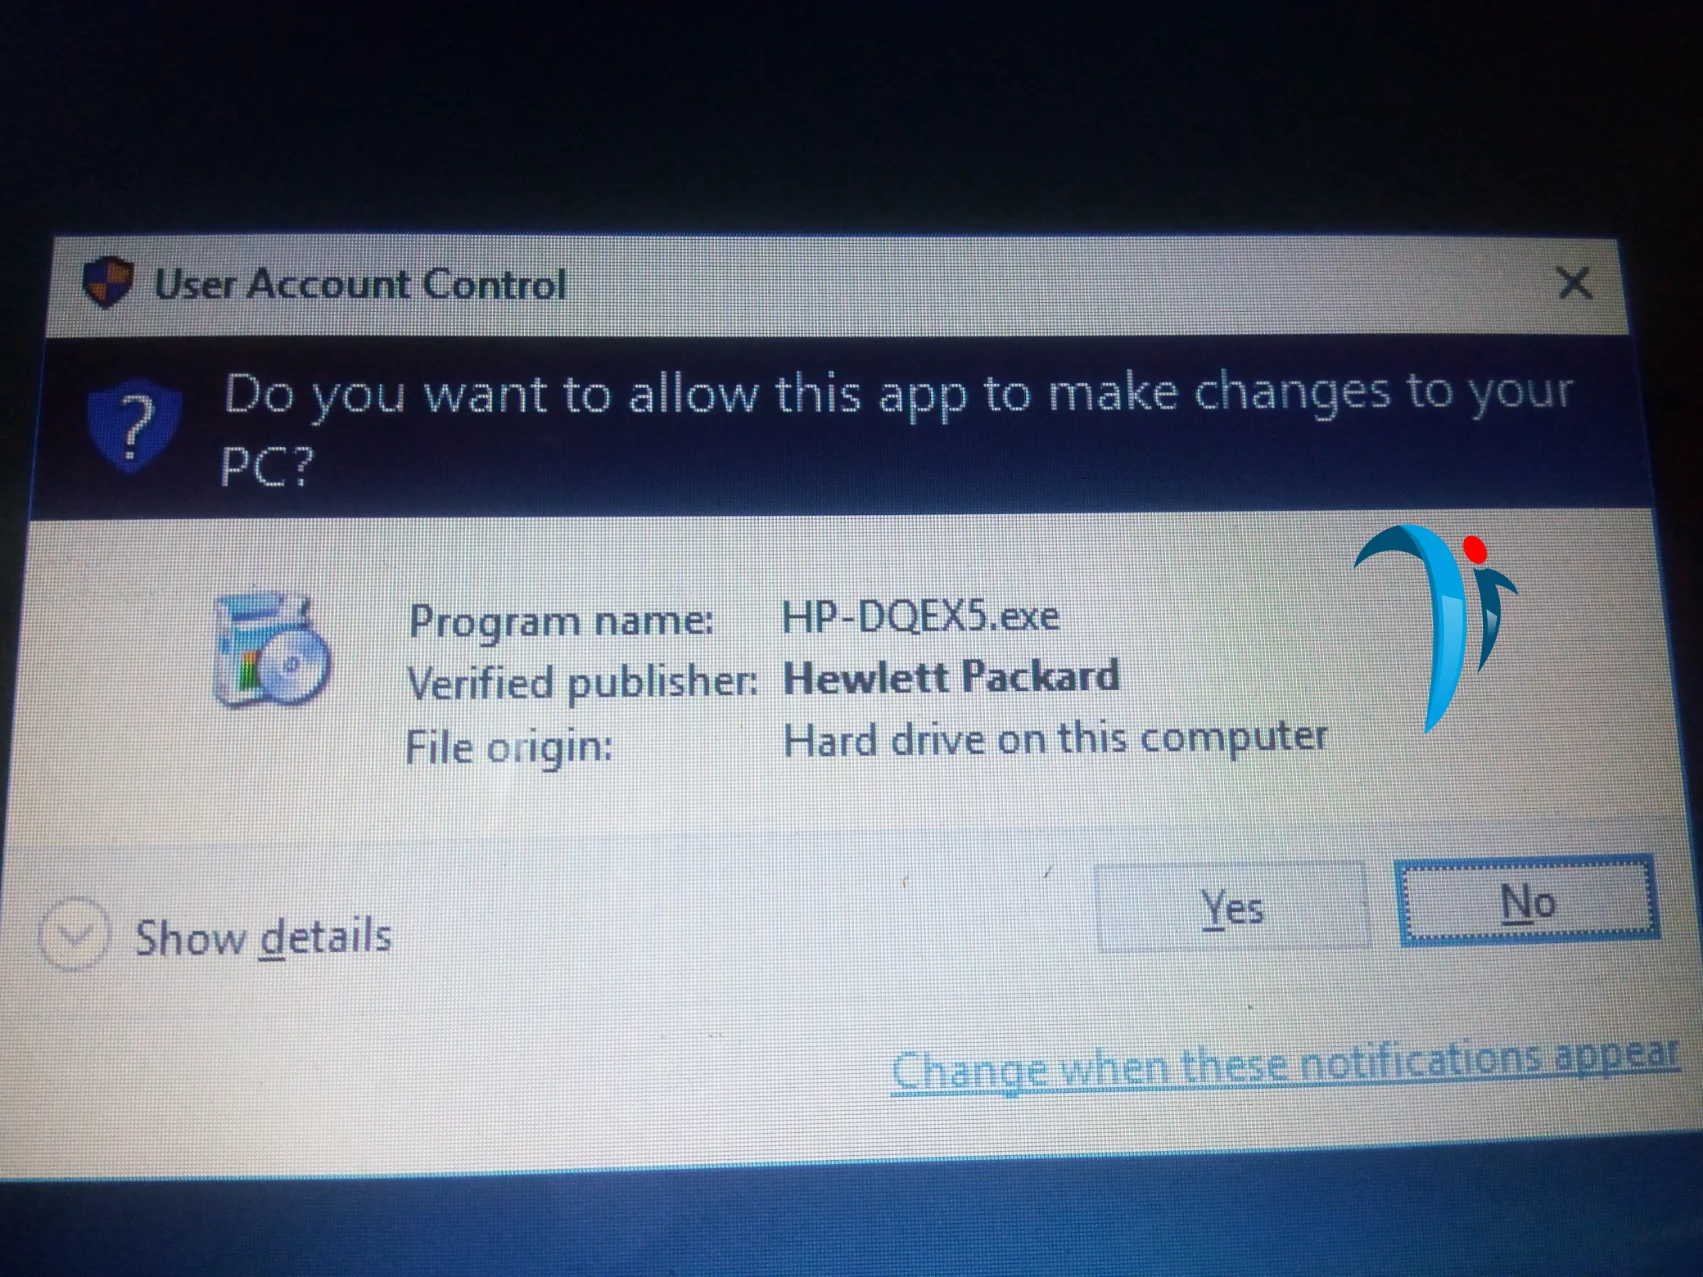
- If you click “No” the installation process will be canceled, but if you choose “Yes” the installation will continue and you will be presented with another screen with all the recommended software that comes with this hp 1050 driver software
- Click on the “Next button to continue the installation with all the recommended software
- There is an option to uncheck some of this recommended software should in case you don’t want them, click on “Customize Software Selections”
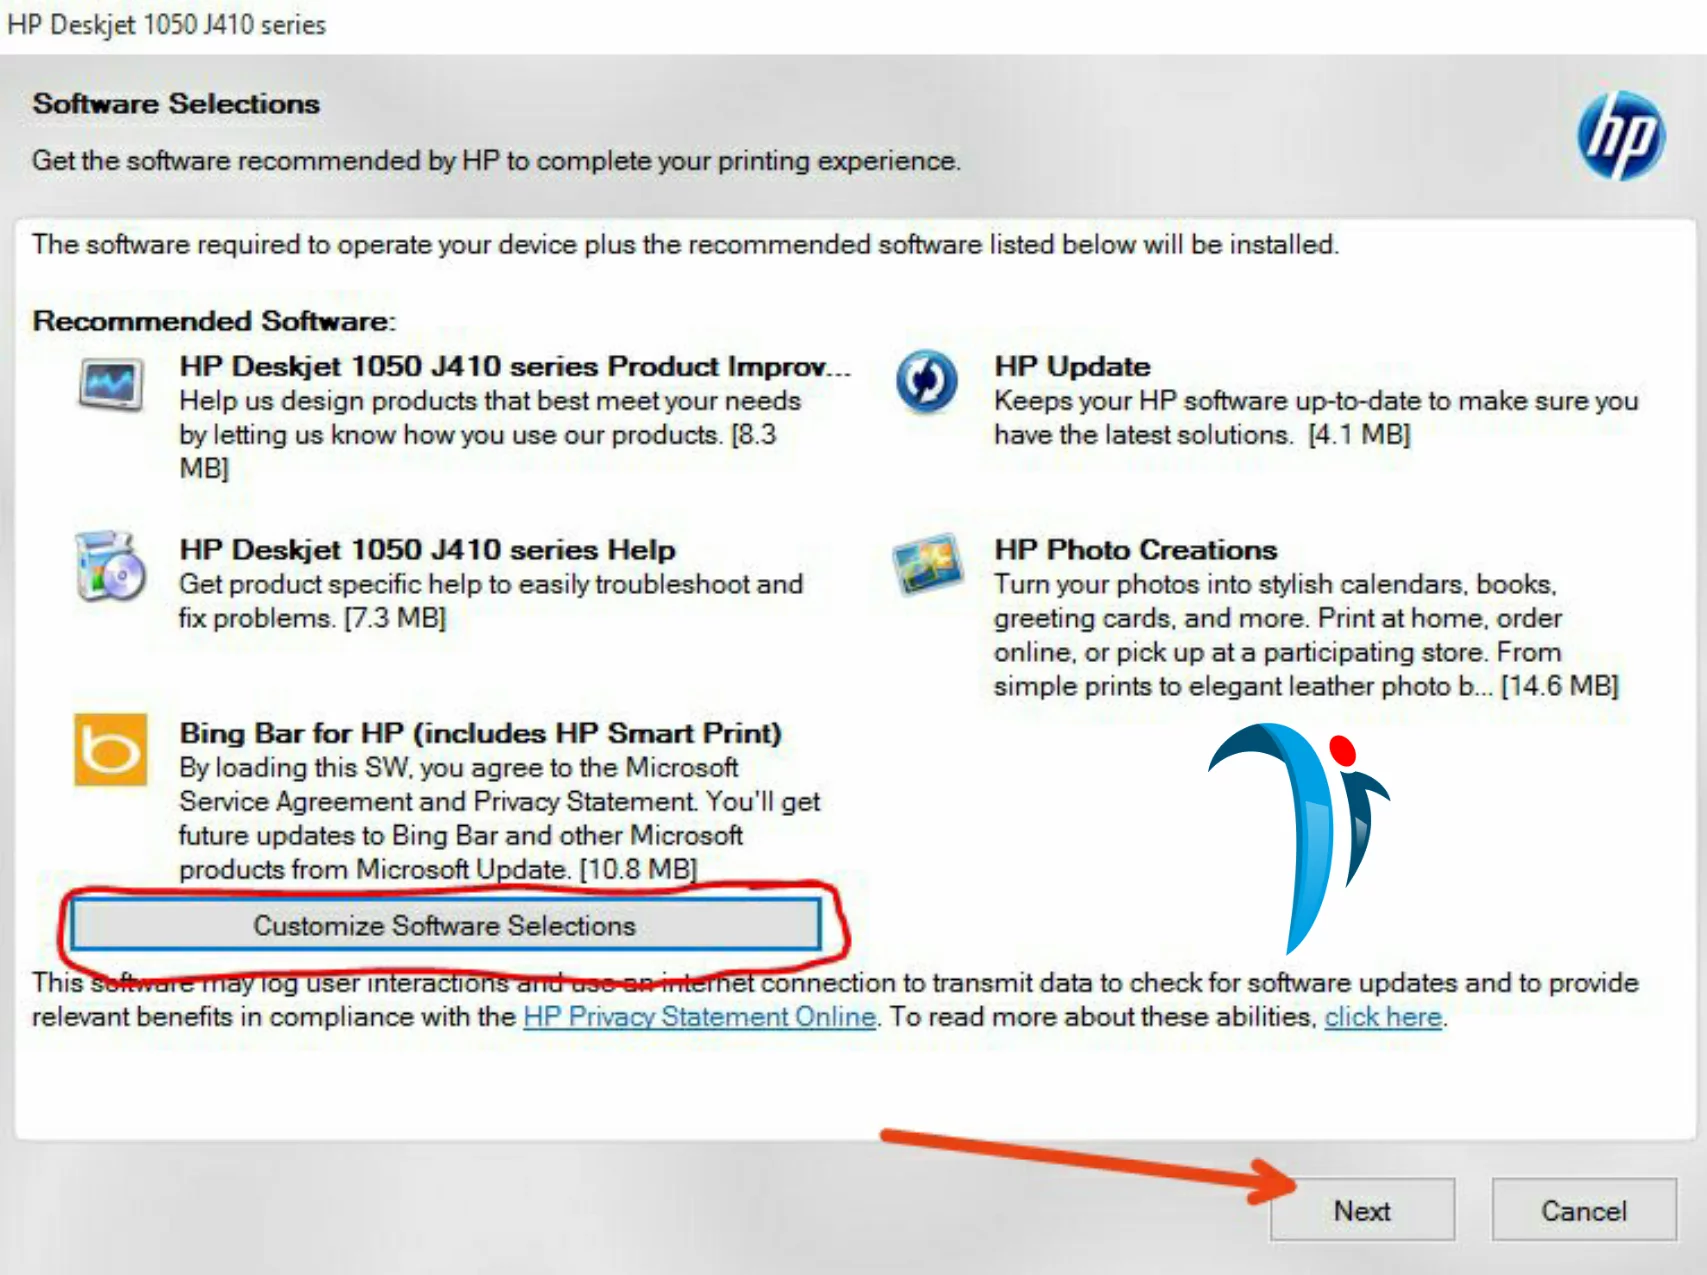
- Now you will have checkboxes behind each of the recommended software, you can uncheck the ones you don’t want to be included in the installation
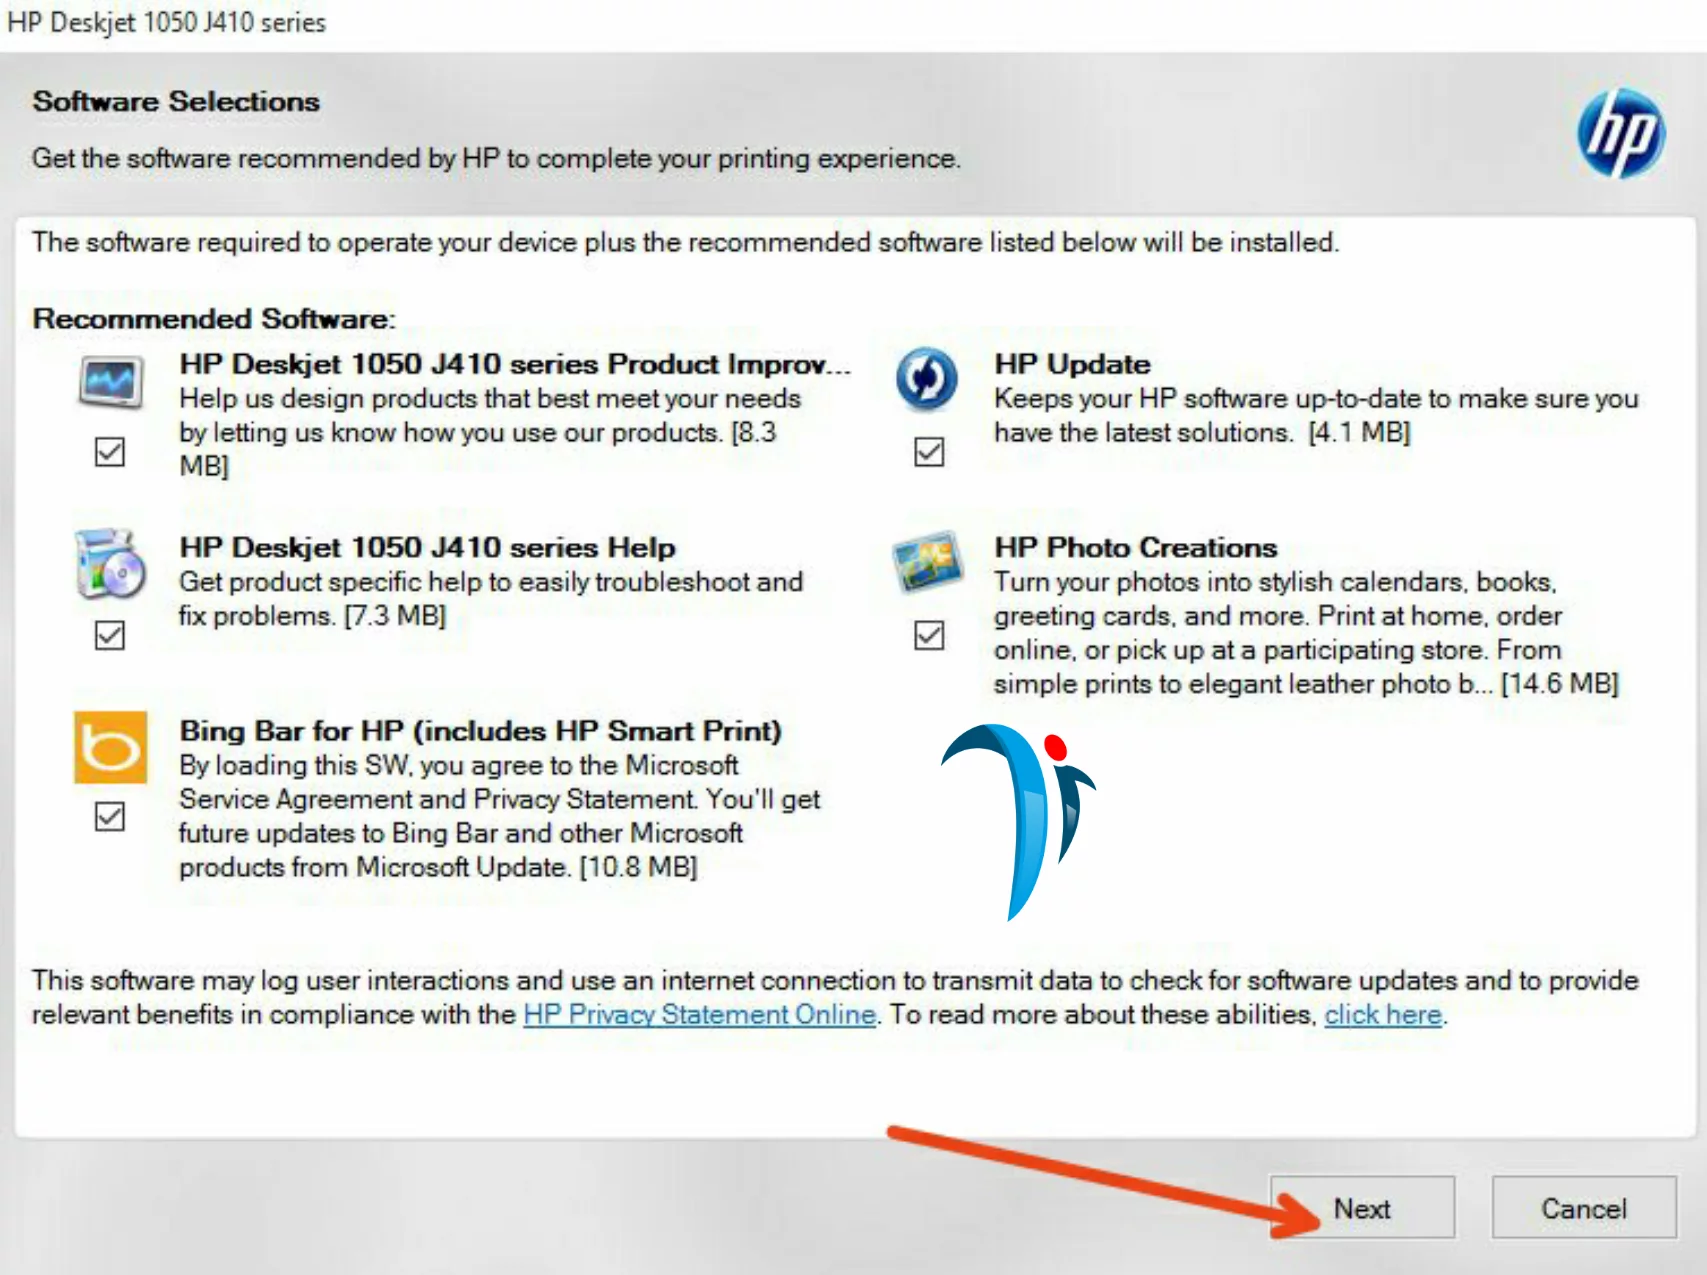
- Then click on the “Next” button at the bottom of the page after taking with you the software you want
- Before you continue, you will need to accept the installation agreements and settings, without which, the “Next” button will not be highlighted, so you can’t continue
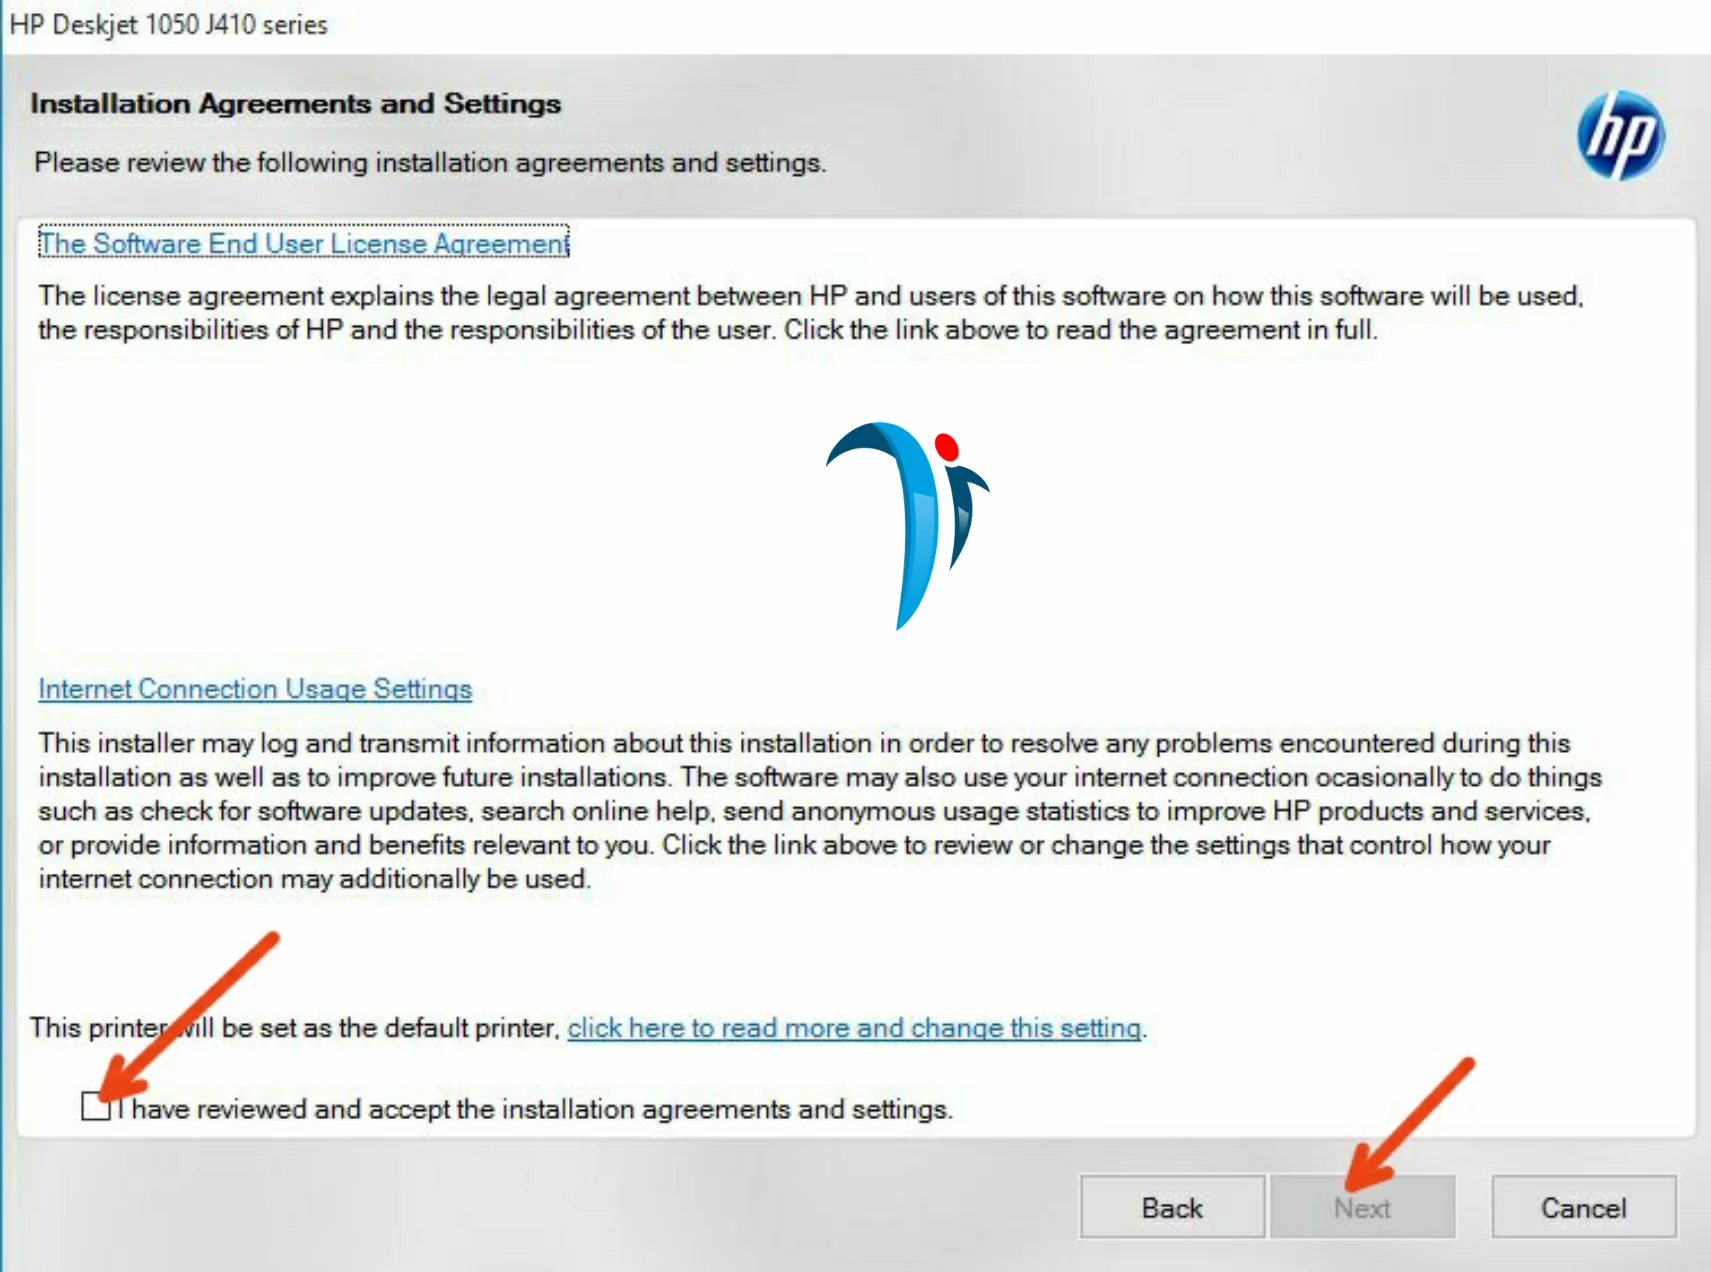
- Tick the button as shown in the image above and click on “Next” button
- Now the installation has started

- After the step above, you will be prompted to plug in your printer to the computer to continue with the installation.
- There is an option to continue the installation without connecting the printer, if you wish for that, click on the checkbox “Continue the installation without connecting now, I will connect the printer later”, then click on the skip button. See image below;
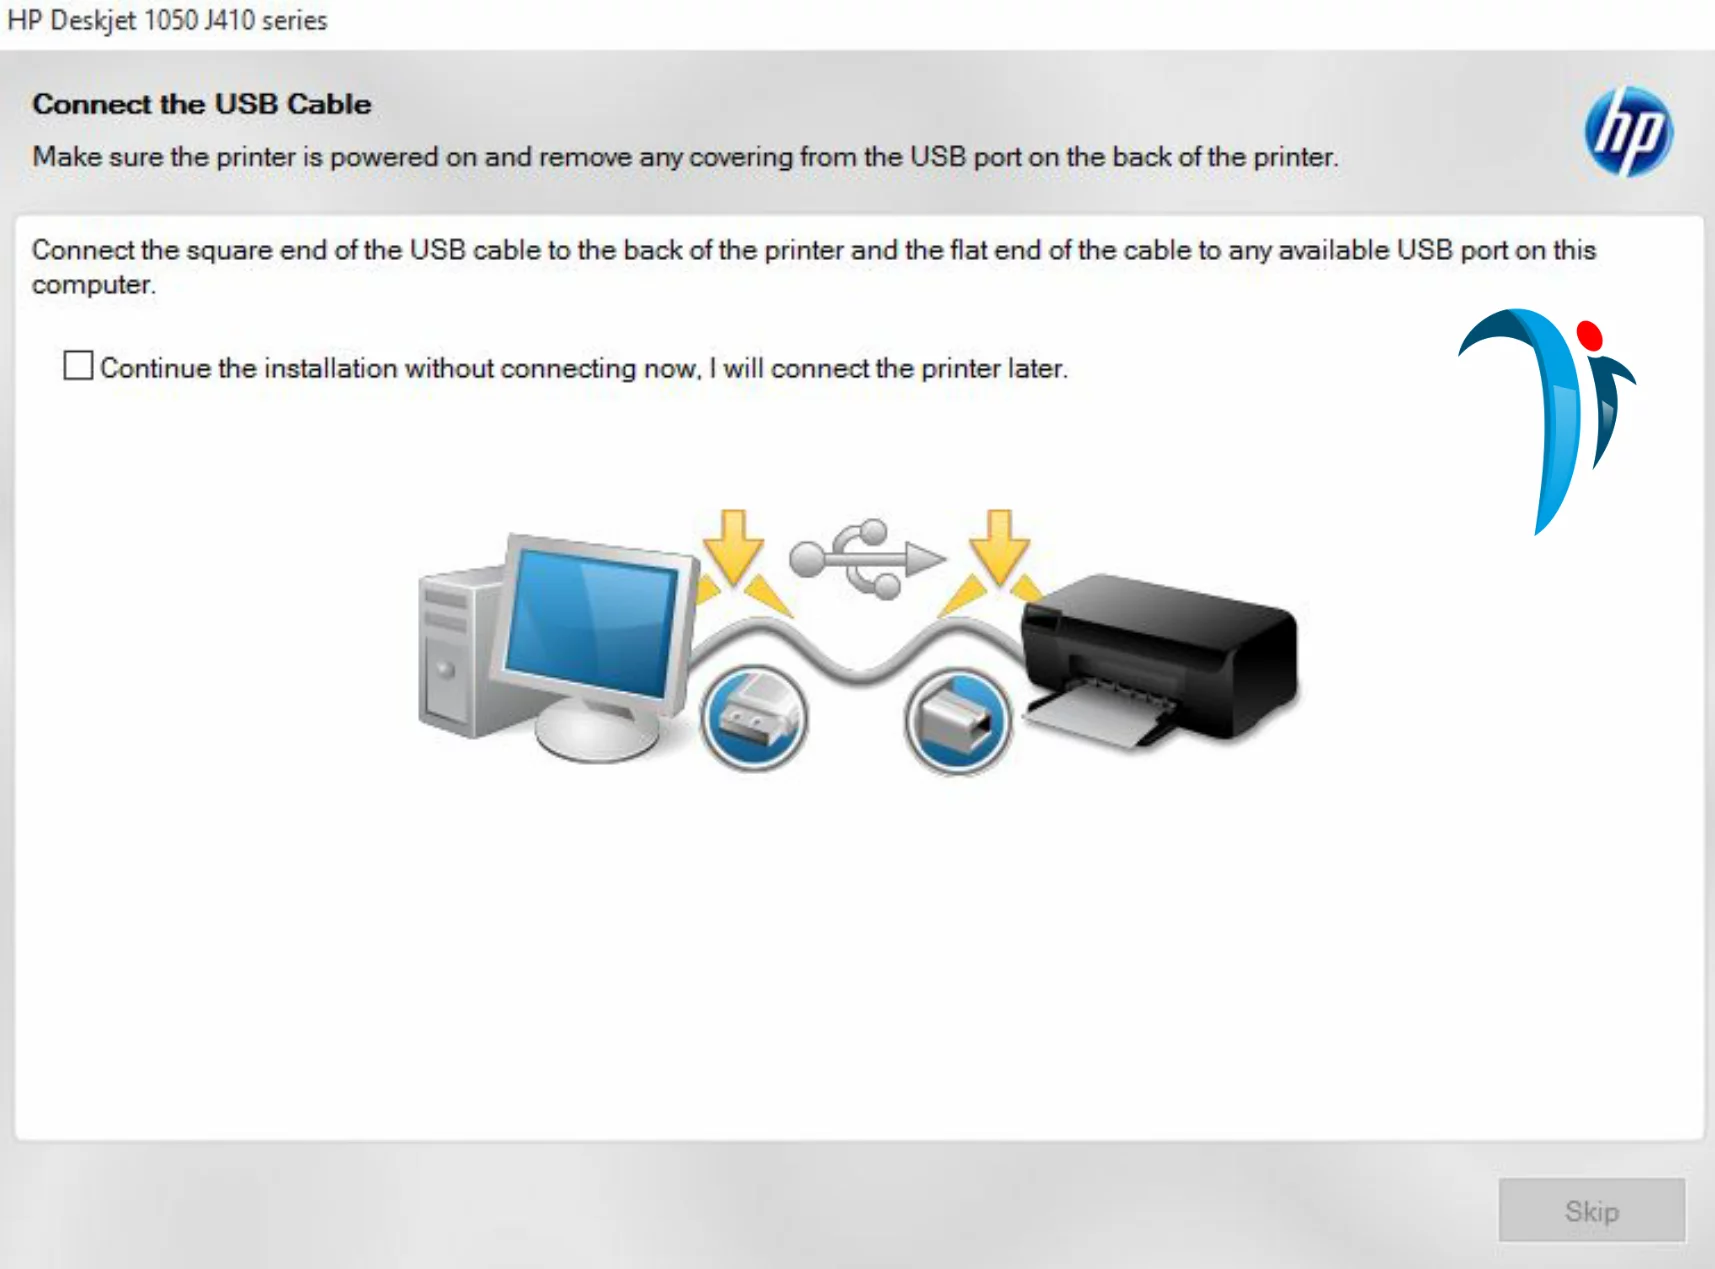
- If you connect your printer when you get to this stage, you will be presented with a screen similar to the one below;
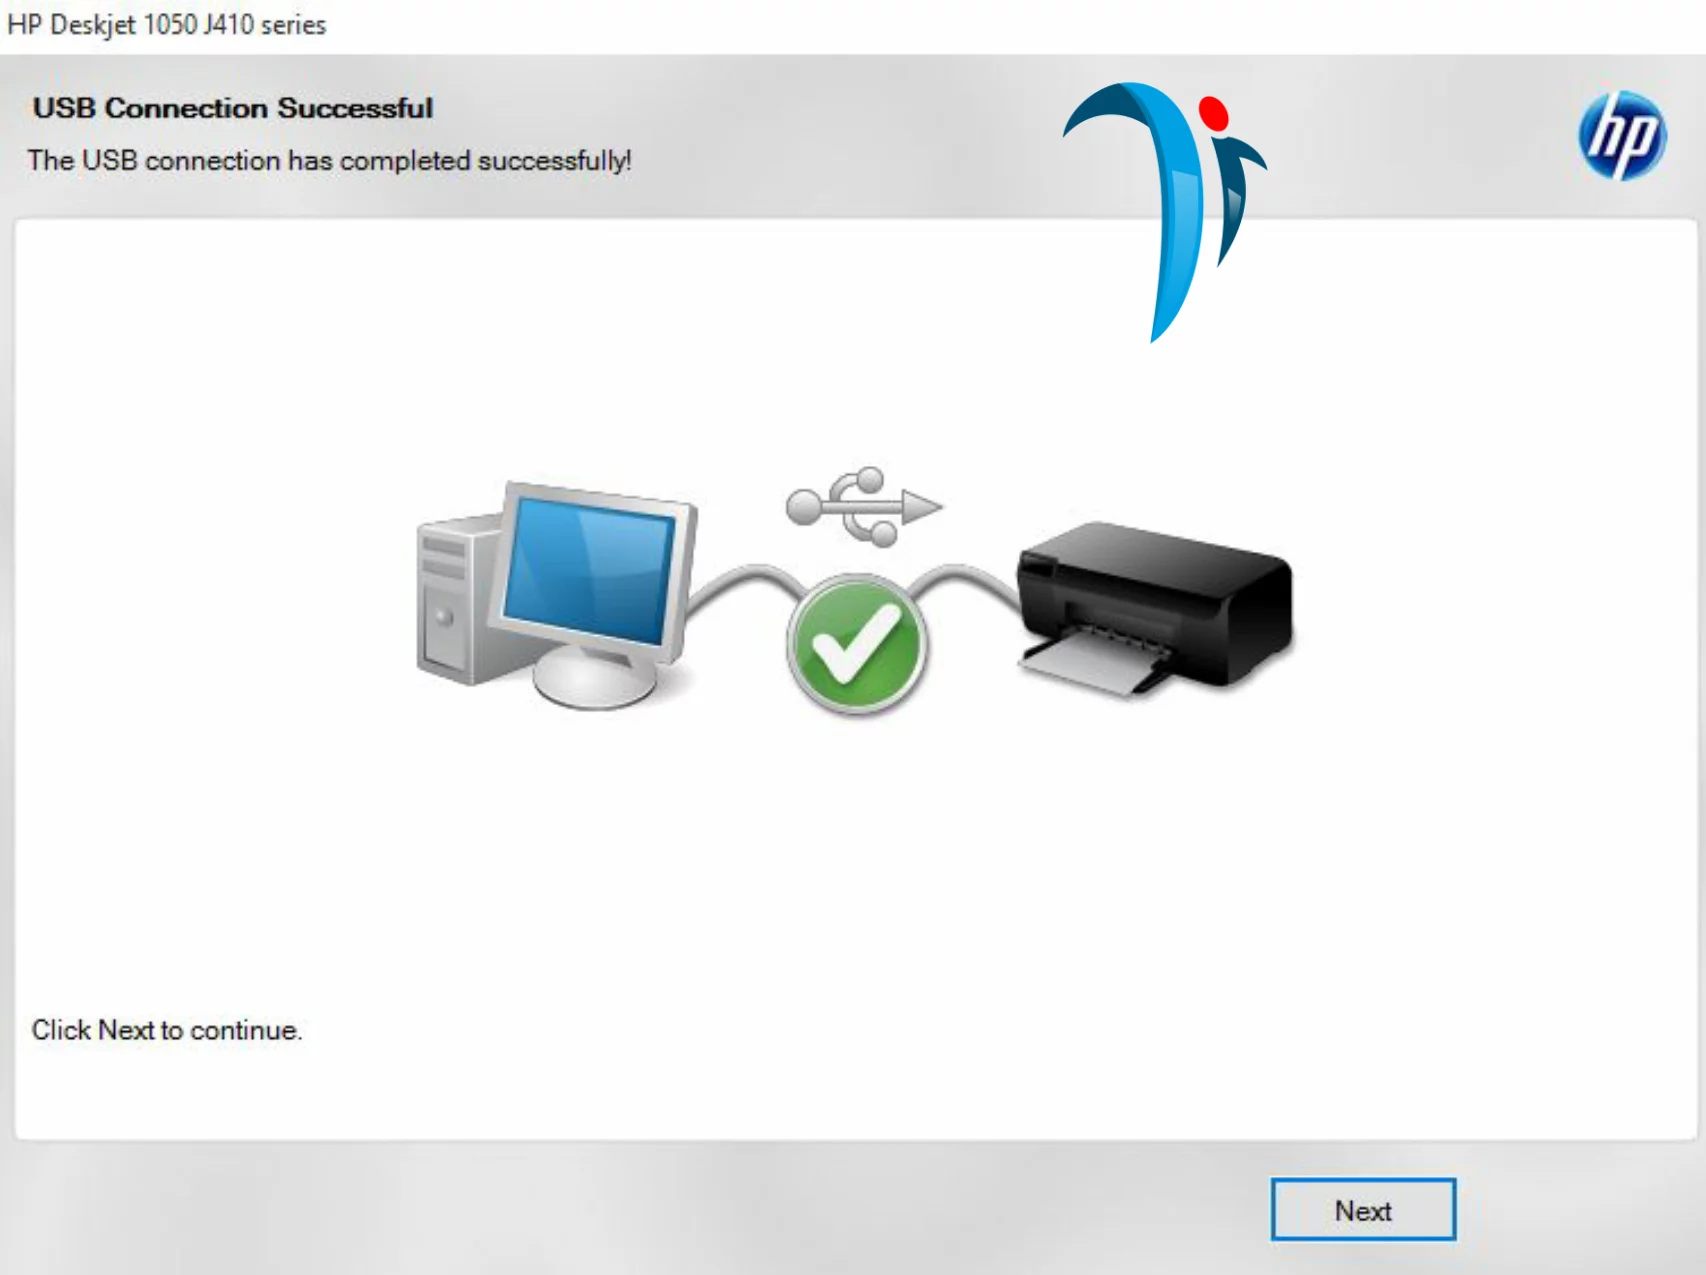
- Now click on the “Next” button to continue
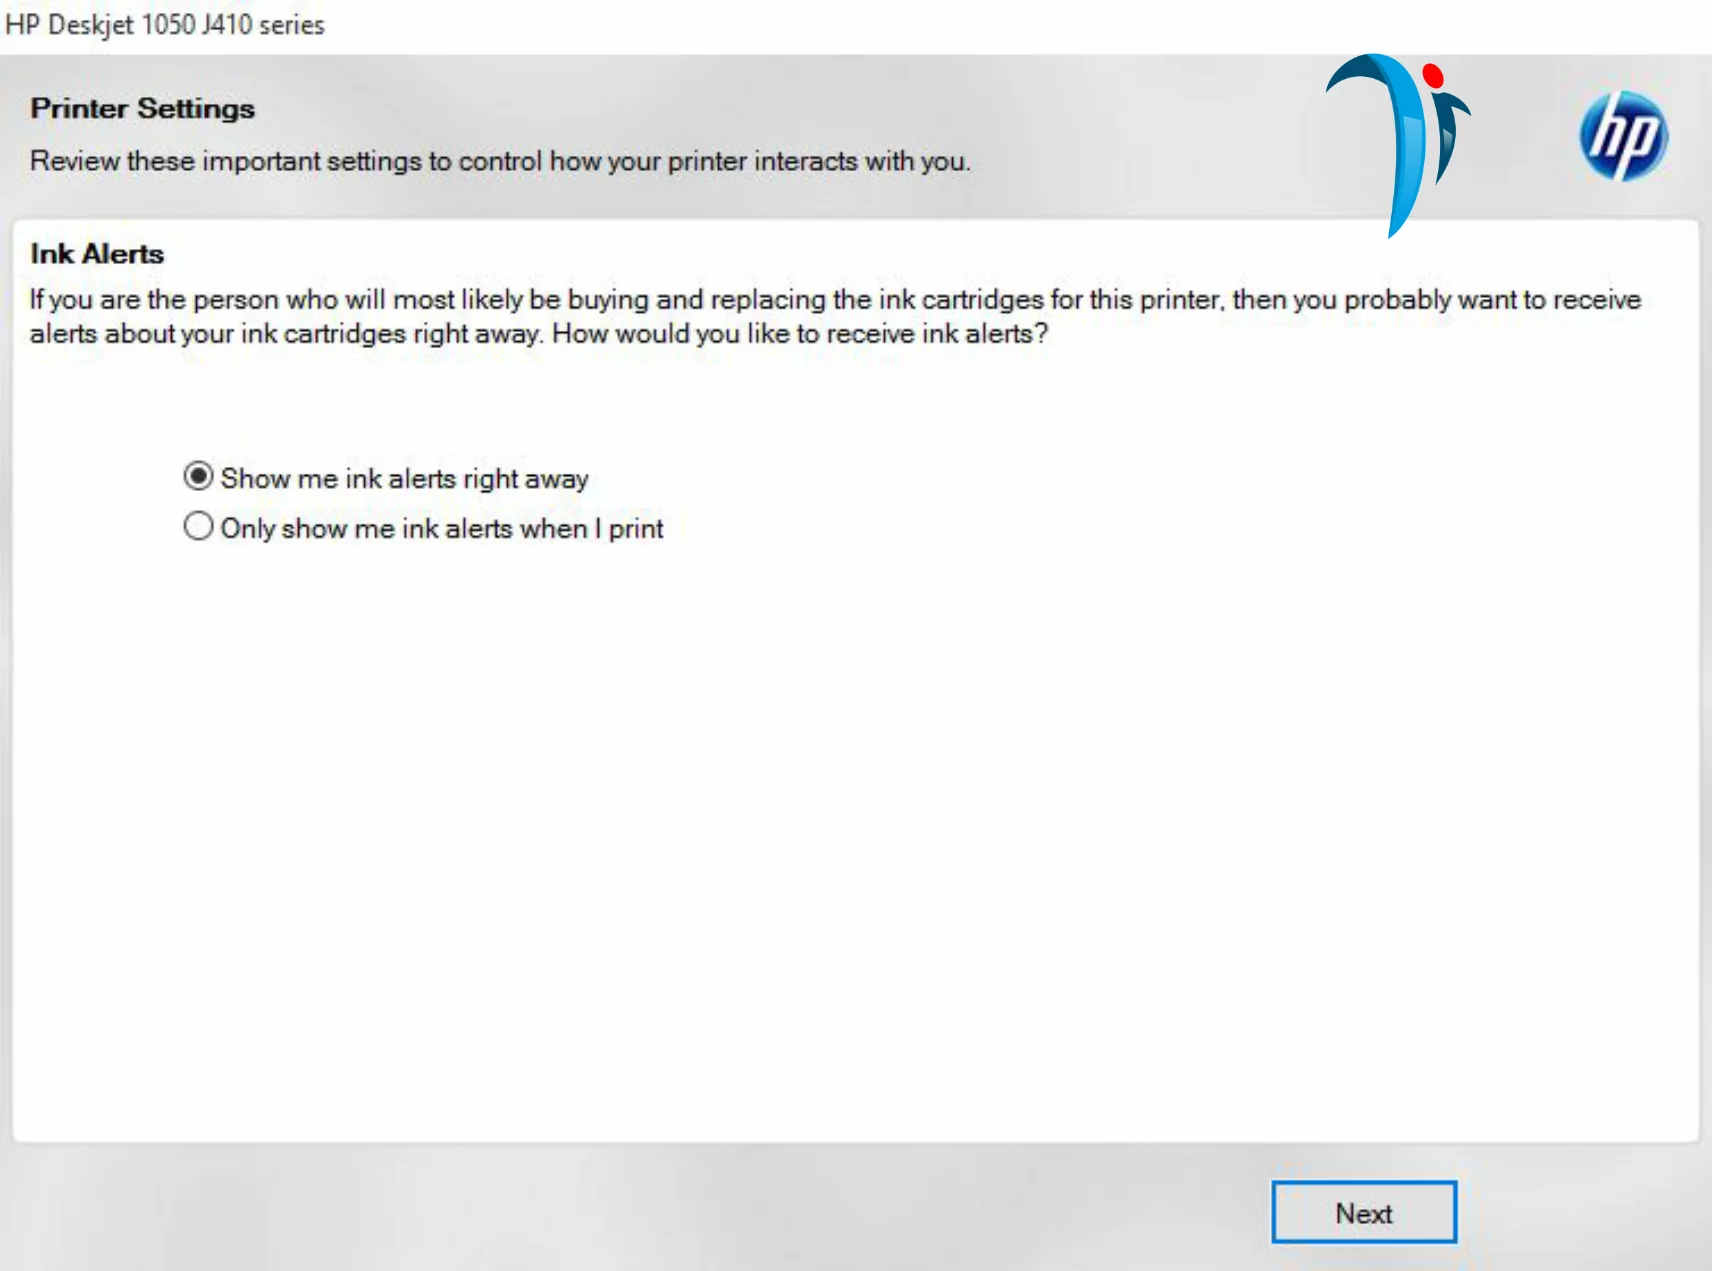
- You will be presented with a screen similar to the one below; choose the option according to your preference and click “Next”
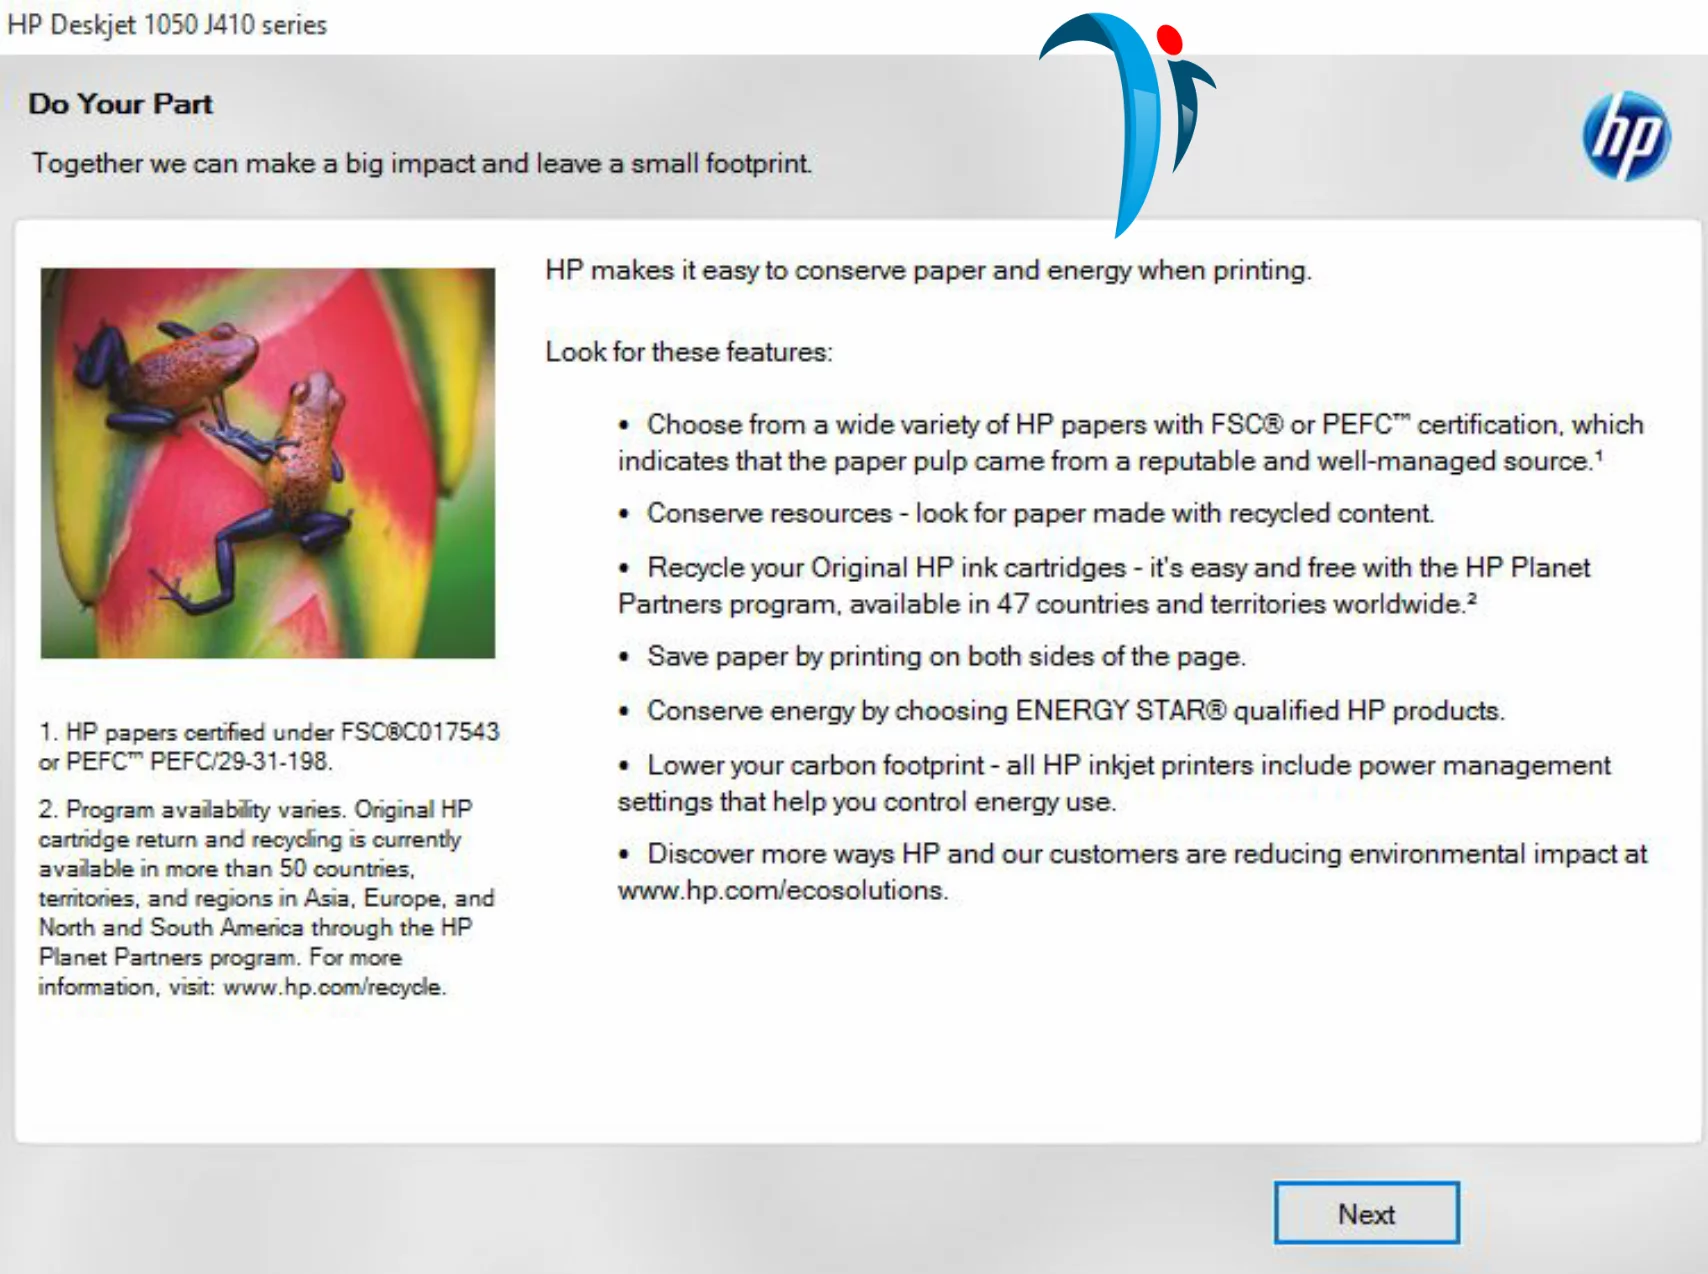
- On the next screen, just click the “Next” button
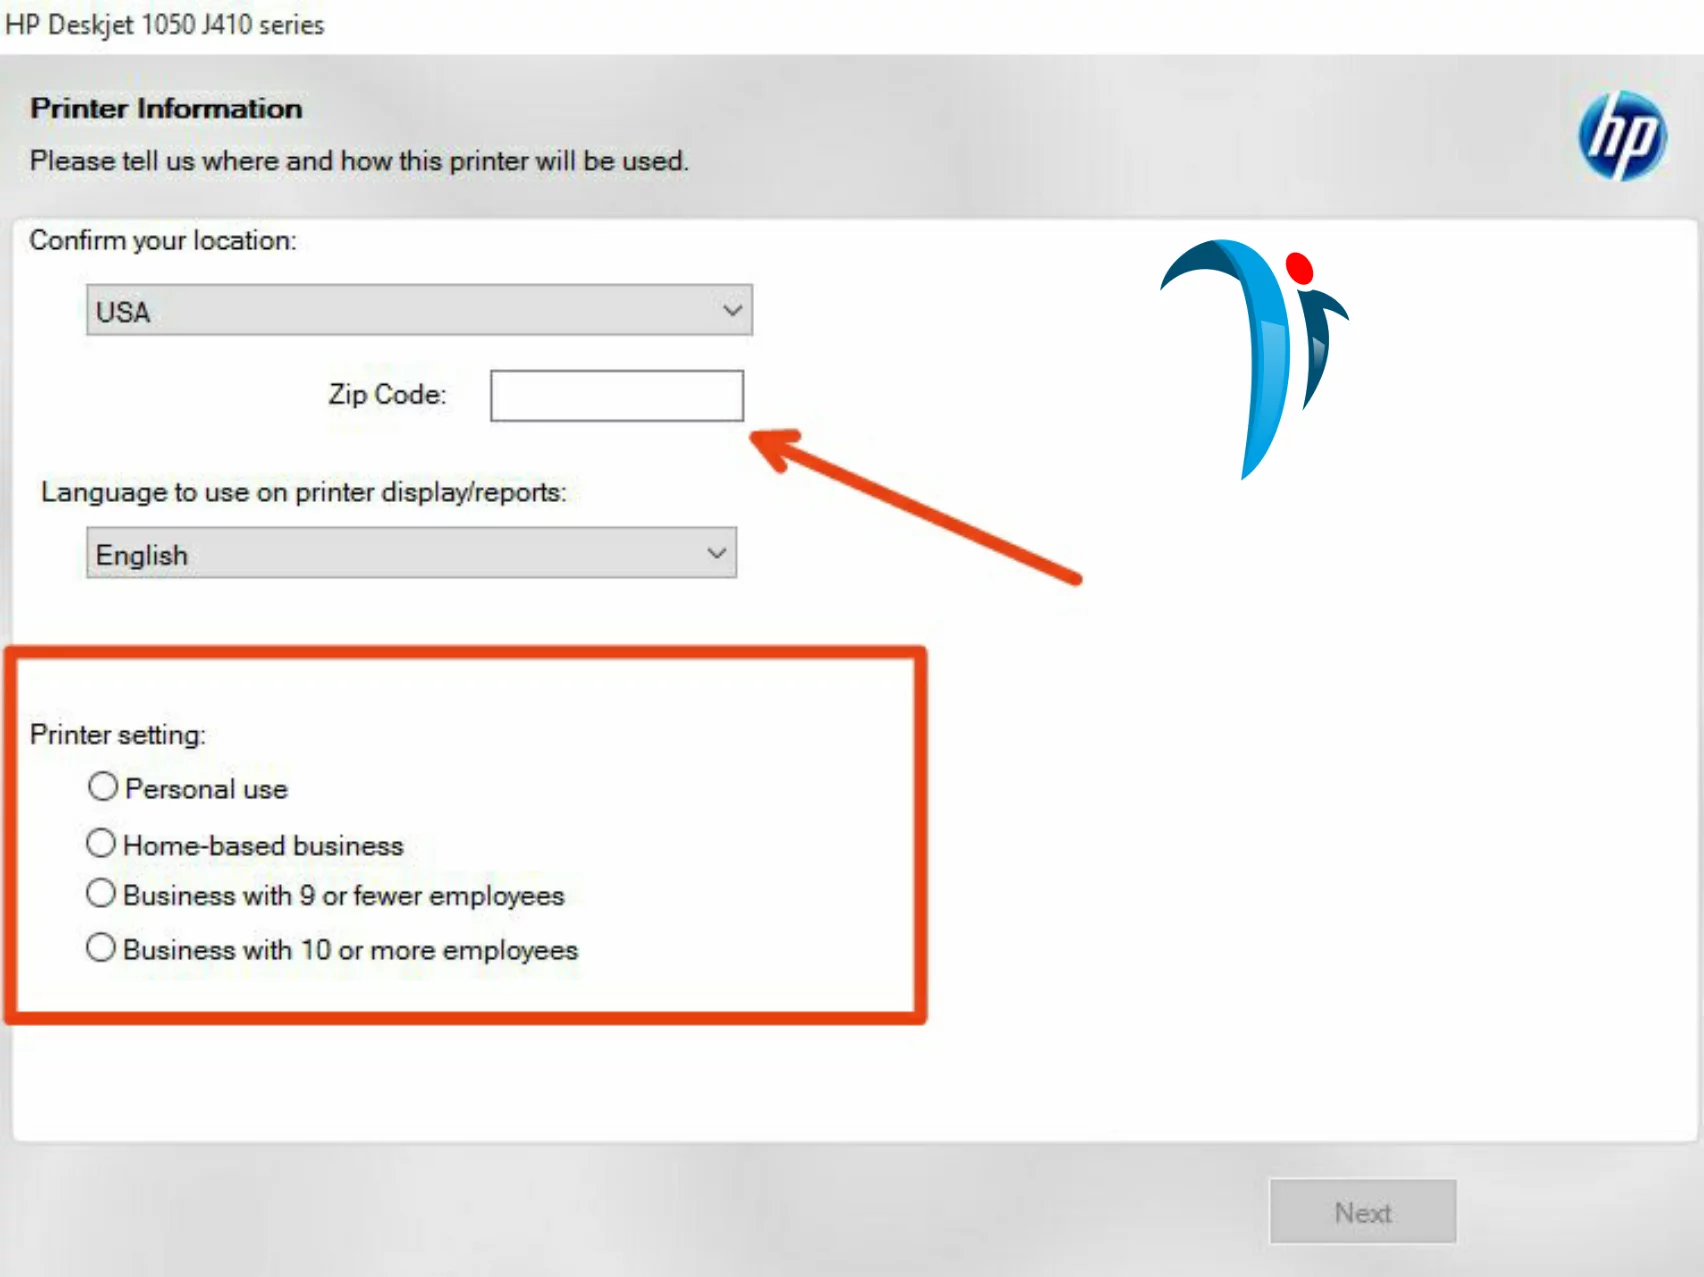
- Now, it’s time to describe how you intend to use the printer. Confirm your location, choose your preferred language and select “Personal use” if you are using the printer for personal use. Just choose the option according to how you intend to use the printer then click on “Next” to get to the final step
- Now you have the final screen;

Your printer should try printing the alignment page now.
Feed the printer with paper and make sure there is an ink cartridge installed in it.
After printing, scan the alignment page and start using your printer as you wish, it’s your thing.
I hope this installation guide was helpful?
